Friday, February 27, 2009

An Award Received and Shared

Tracy Topps of Minis on the Edge generously presented me with a Fabulous Blog award. Thank you, Tracy!

According to the rules that come with the award, I apparently have to list my five top addictions and then pass the award along to five other blog owners who will then have to do the same. Both of these are hard to do! I have more than five addictions; thank goodness I don't have to list all of them! And there are so many wonderful bloggers on line now that it's hard to know where to begin.

First, the addictions, not necessarily in this order:

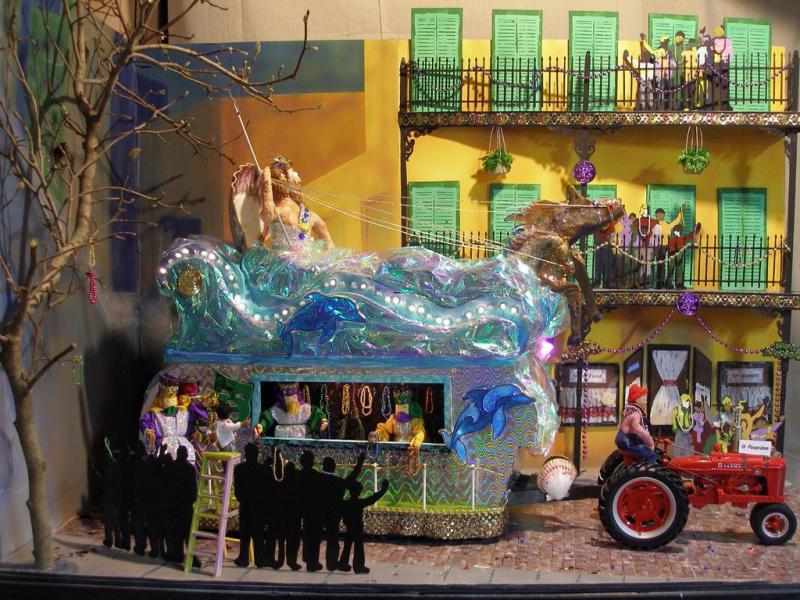
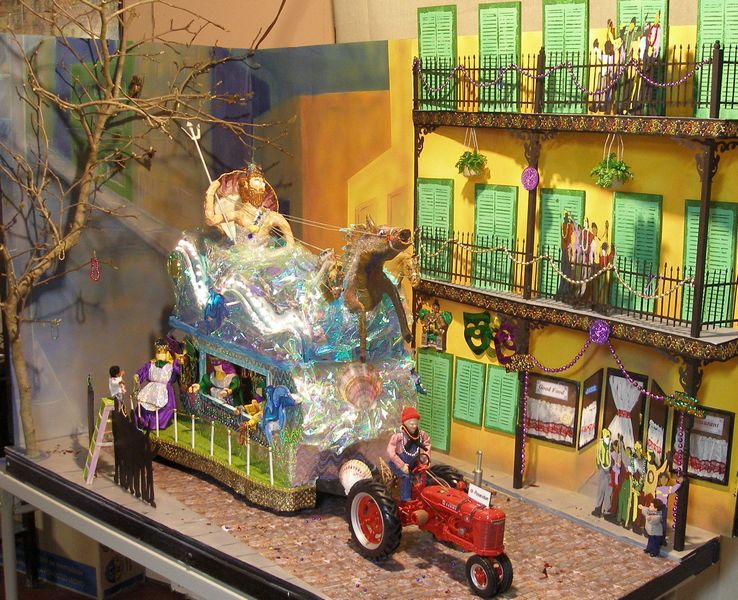
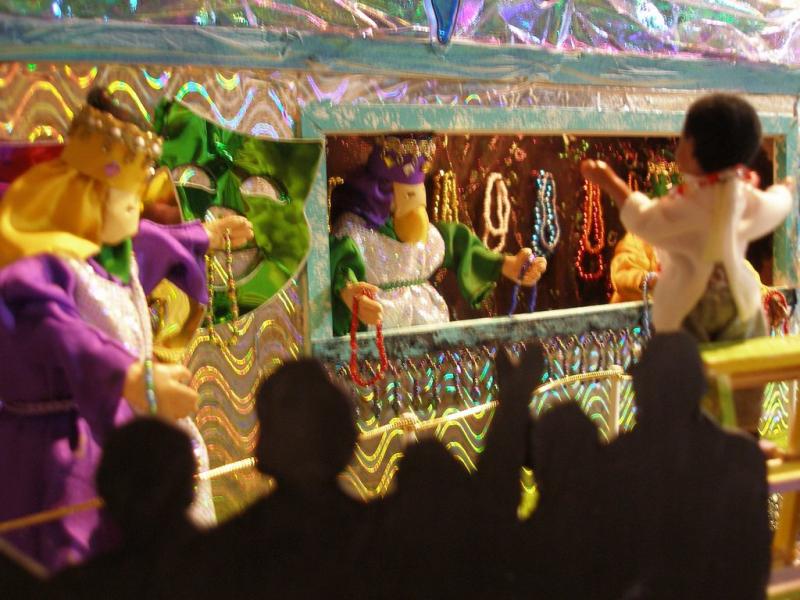
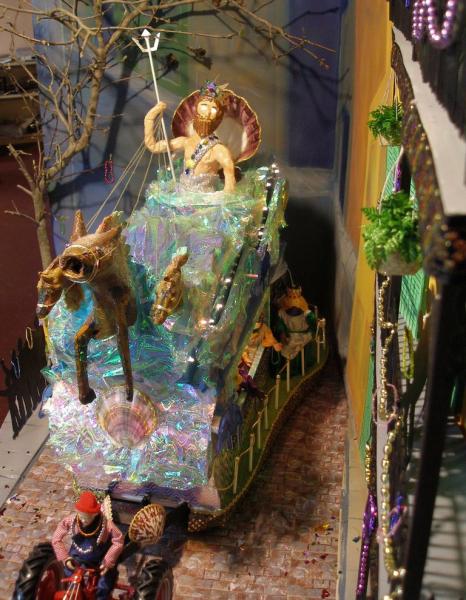
1. Miniatures -- I love building mini houses and other projects and then decorating them with pieces I've made myself.

2. Historic accuracy in projects that have an historical setting.

3. Chocolate

4. Reading ... novels, non-fiction ... there's always a book beside my bed and another in the "reference room."

5. Travel. My bags are packed -- where are we going this time?

And now for the best part, the awards, also in no particular order but leaning heavily toward works in progress and tutorials:

Karin F.'s Mini Ramblins and Musings This is a newish blog, but holds great promise as she shares her mini musings and shows us how they turn into reality.

Jodi Creager at Creager Studios Go here to find wonderful dolls, tutorials, and a whole pile of great humor!

The MiniMaker at Creating Dollhouse Miniatures I'm sorry I don't have a name to credit for this blog, but go there. You won't be disappointed when you see all of the wonderfully creative and informative video and slide tutorials.

Fluffy Bricks offers a sampling of all kinds of miscellaneous projects, some by the blogger (Living in the Past) and work of many other talented craftspeople that she has collected. It's a great spot for inspiration and tutorials.

Grazhina at Victorian Interiors and More deserves a special award for the exhaustive research she has done in collection information on almost every aspect of life in Victorian times.

Thank you for stopping by my blog. Do check out the newest award winners. You won't be disappointed!

Wednesday, February 25, 2009

Mardi Gras Memories

Today is the day after Mardi Gras, and I'm still in the mood, so here's a little deviation in theme. In 2007, Hobby Builders Supply's Creatin' Contest called for entrants to use Greenleaf's Travel Trailer kit as a base for imagination. We'd been recently run out of New Orleans by Hurricane Katrina, and the trailer immediately put me in mind of a float.

HBS is here: http://www.miniatures.com/

Greenleaf is here: http://www.greenleafdollhouses.com/

Even though I was green as green can be working with miniatures, this entry won first place in the contest and a $500 gift certificate. I can't tell you how tickled I was to have won!

I'm sharing a few photos here, but you can see lots more at my blog in the Greenleaf Forum: http://www.greenleafdollhouses.com/forum/blog/kathieb/index.php?cat=96


The Poseidon float rolls down a street in the French Quarter, pulled by a tractor, the traditional tow vehicle for floats after the mules retired. Beads in the trees, glittery trash on the street, crowds waving and calling, and the riders -- masked by law -- tossing beads and other trinkets.Three sets of lights on board -- one inside the window, a set of "chasing" lights running along the "waves", and fiber optics lighting Poseidon's eyes.


This angle shows most of the detail and the best view of Lloyd's background, most of which was airbrushed. Lloyd is my talented husband. The shuttered windows are painted foamcore with stenciled lines; the 3rd story rises above the top of the background, indicating the building is taller than shown.The curtains in the two largest restaurant windows are real; those on the door and side windows are painted. The "crowds" are cut from cardboard; color was added to the groups facing us. The two groups flanking the boy on the ladder are just black, with beads adding a bit of color and dimension.


"Throw me somethin', Mistah!" ... the excitement of Mardi Gras grabs young and old alike. It's amazing how "real" this looks, just like photos I took at the parades a few of years ago.


The back is a mirror image of the front side of the float. It can't be seen easily, but real floats have riders on both sides, and so does this one. On the right, parts of the balconies, which protrude from the building backdrop.The tree is a branch from our magnolia.


Saturday, February 21, 2009

Creole Cottage 10: Lighting & Accessories

.

Marie Laveau's cottage required some items not usually found in miniature catalogs. Voodoo dolls, for one. The photo was the inspiration. The dolls in the basket are the ones I made.


Marie's familiar, a boa constrictor, was fashioned from some printed cloth and beads over a pipe cleaner.


The shelf with coat hooks by the front door was made from a laser cut kit. The "cloaks" are bits of cloth stiffened with hairspray so they'll hold their shape.


The carpet bag was made from made from a bit of brocade from a decorator's sample book. One of our Greenleaf Forum friends was kind enough to share some with several of us when we met at the Bishop Show in Chicago a few years ago.

The picture on the wall is Our Lady of Prompt Succor. She is credited with saving New Orleans from dire flooding in years past. She is recognized in nearly every Creole household in the city, even today. The chair and table are Chrysnbom kits.


Here's the cottage tipped onto its face for the installation of the lights. There are six lights mounted on a strip of wood that go up at the ceiling level. They add light so the details can be seen. Marie's cottage had no electricity, and candles weren't an option as this scene is daylight.
The junction splice is attached to a line of tape. Two wires connect the tape to another piece of tape that runs along the wood strip. The lights are connected to the tape. The wires connecting the two pieces of tape are hidden behind the strip of wood that finishes off the edge of the central wall.

Creole Cottage 9: The Altar

Creating an altar for Marie Laveau's house was a bit of a challenge. I built the shelf unit of basswood and stained it dark. I put some trim with gold in it inside the bottom to add a little light. The small box is from a 1/2" scale kit. It probably has a rosary and cards in it.


The Mary and Joseph figures are "pocket saints" found on line. They're made of metal. I painted them with the aid of a magnifying glass. The pictures were all found on the internet and sized to fit. The cross on the top is a charm with the ring clipped off.
This is a very short post. My apologies. I've been busy baking and cooking for Mardi Gras all day. The house is fragrant with traces of gumbo ingredients and pralines. Tomorrow is King cake baking day.

Friday, February 20, 2009

Creole Cottage 8: Table & Shelves

Marie Laveau needed shelves for her bottles of herbs and potions. I built them from scraps of wood and trim and painted them. The labels on the jars were from a printie. The coal stove lacks a stovepipe in this photo.


Marie also needed a little worktable. Do you recognize the legs on this table? They were left over from a Greenleaf Orchid, the roof ridge trim bits that weren't used. With the top knob trimmed off and a couple of scraps of wood, they worked perfectly. Marie seems a bit overly pleased, but then she'd been used to a totally empty room, so any addition was for the better!

Thursday, February 19, 2009

Creole Cottage 7: Fireplace Screen

My dear friend and cousin-in-law is a fine Creole lady who would not let me stray from accuracy in this project. She said I needed a proper firescreen in the fireplace. She took her camera to several architectural recycling places in New Orleans and sent me this picture for inspiration.


The rectangular part attaches to the fireplace stone or bricks. The arched part is hinged to open so you can get to the fire.


This is Marie Laveau's firescreen. The round center part is a brass jewelry finding partly painted black. The rectangle, the rope trim around the arch, the flowers and the strip across the bottom are black polyclay. The mesh at the bottom is a bit of a metallic pot scrubber painted black. Once I had an inspiration piece, it all came together.


This is what it looks like in place.

It's amazing how something even as complex as the inspiration piece can be duplicated in miniature if one keeps an open mind about how to pull it together.

Wednesday, February 18, 2009

The oven wall

While fiddling with the outside bits, adding windows, etc., the inside has been nagging at me. I finally chopped up a piece of contractor's foam board to make a combo stairway/oven wall. This is the first attempt. About 2 inches near the window will be removed and the corner rounded a bit to make a little closet/nook. An alcove will be cut out for a half-inch scale woodstove. The baker is only 3" tall. I thought a full size stove would have her running up and down a ladder -- dangerous near a hot stove! The foam will be smoothed, Spackled, and gessoed so it will look more like the Sintra walls. The unfinished chair was the fairy godmother's. Since she has moved on, it won't figure in this project.

The little baker is very interested in what's happening. The little stove fits in there just right. The little baker likes the little stove. She says she can turn out all kinds of good Bohemian breads and pastries on it. We used a big emery board to sand down the rough edges. The contractor's foam is an inch thick, so the oven wall is two inches thick. You can see where the two slabs are joined.


I rummaged around in the construction materials bin and found a handful of bricks, enough to brick the back of the stove alcove make steps. The little baker and I had a discussion about how to finish off the steps. We debated between bricks or no bricks, but the bricks won. I told her they weren't glued in place so she'd better be careful how she stepped on them. She was careful, thank goodness.


We put the bricks away and painted the whole thing with gesso. There are some rough patches that need to be smoothed over with wallboard mud (I like to use it instead of Spackle. Personal preference), and the whole thing will get another coat of gesso and the stairstep bricks will be glued on. When the glue dries, we can grout the bricks, do a little aging on them, and slide the whole unit in place. The little baker called in two of her male counterparts to see what progress we've made. The one in the middle found something to get excited about, but I ignored him. The one on the right just wanted to know if the stove will be hooked up in time for supper.

The oven wall looked too new, so a bit of aging was called for. I bought these pastels at Hobby Lobby on sale for about a 10th of their original price. They are nice and soft, good for rubbing in with a fingertip or Q-tip.


The little baker just called me over. She says she needs to have a name. "Little baker" just isn't doing it for her. She's thinking about what she wants to be called. I guess each of the elves deserved a name.

Tuesday, February 17, 2009

The White Orchid -- the story begins

Once upon a time, not long ago, Greenleaf Dollhouses produced an exceedingly shy limited version of the popular Orchid dollhouse in a gleaming white styrene plastic instead of wood. I was lucky enough to snag one of the elusive little houses, and it spoke to me almost immediately. The satiny smooth whiteness reminded me of a beautiful white mushroom -- one with a red polka-dot cap!


We've had a red capped mushroom on our Christmas tree for as many years as I can remember. It's a sign of good luck. This is one from our current tree. We have six. :)


Then, not long after the house arrived, I found five little elves in the gift shop at the Nelson-Atkins Art Museum in Kansas City. They told me a mushroom house in the Bohemian forest would be just the ticket for them as they hopped into my pocket for the ride home. About that time, a fairy godmother tugged at my sleeve and presented her credentials as an elf wrangler. She was a bit big, I thought, but the elves appeared to be in need of a strong hand, so they joined company to wait for me to get started on their house.


There was a bit of a challenge with scale in this project, as the house and fairy godmother are 1:12 and the elves are closer to 1:24. The fairy godmother was beginning to get a bit restless; I'm not sure she understood the full scope of her responsibilities and was somewhat upset when she found a couple of the elves building a still instead of a toy train layout.


But then I found a Santa in roughly 1:24 scale in a 75%-off Christmas sale bin, and the challenge was met. The fairy godmother has gone to do her fairy godmother thing, although she promises to drop back to visit now and then. Santa won't be living with the elves, but since their workshop is on the ground floor and their living quarters upstairs, he'll be dropping in frequently to keep an eye on their progress -- and mine, too, I think!


Here's a picture of the house in dry fit. I'll tell you more about the building process later, but I want you to see the cuckoo's nest above the porch. The Great Spotted Cuckoo will live there.


Monday, February 16, 2009

Watch for a bend in the road ...

While I'm happily blogging Marie Laveau's Cottage, I'm busy working on another project, a White Orchid. Since it's more fun telling you about something that's happening right now -- at least for me it is -- I'm going to tell you about the White Orchid as I work on it. On days when the White Orchid is in contemplation mode, I'll share more about Marie's Cottage and other finished projects. So, tomorrow you can look forward to a change of pace.

Creole Cottage 6: The Fountain

Just a short post today to show you how I made the base for the fountain. It's a piece of packaging, the kind that's usually hard to open and gets thrown away. I don't remember what was in this, but it looked to me to be the perfect shape for a base.


I glued the resin fountain on the base and covered it with a thin layer of wallboard mud (aka joint compound), then used acrylic paint and pastels to age it.


Sunday, February 15, 2009

Creole Cottage 5: Landscaping begins

The front garden an important part of this project, so I built a base from plywood with an edge around it, like a tray, and fitted a piece of contractor's foam into it. I painted the whole thing with black gesso as a base. When it dried, I used paperclay to lay a brick walkway.

The paperclay was painted and aged with pastels and washes, and bits of green "moss" were glued between the bricks. The moss is used by model railroaders in their layouts.
The dirt is dried, used coffee grounds. The white "oyster shells" are crushed eggshells. My family got awfully tired of eating eggs while I worked on this part of the project. Under the house, where it wouldn't be seen easily, I daubed white paint. The fencing is made from pieces of contractor's foam with purchased plastic "wrought iron" fencing.
This is an overhead view of the base with some of the plants and a couple of trees. With the foam base, it was easy to poke the greenery into the ground. I pulled it back out, dipped it in glue, and pushed it back in. You can see the bare spots where the brick pillars from the house go. I decided not to glue the house in place to facilitate moving it.
More plants will be added, but you get the general idea of how the garden grows. :)

Saturday, February 14, 2009

Creole Cottage 4: About Marie Laveau and the cottage

Today we'll take a little break from building so you can meet the owner of the house. I probably should have posted this first, but better late than not at all.

Marie Laveau (1802-1881) is legendary for an unusual combination of spiritual power, beauty, charisma, showmanship, intimidation, and shrewd business sense. She is known for her kindness and charity in nursing yellow fever victims, ministering to condemned prisoners, and her devotion to the Roman Catholic Church as well as her role in the voodoo community in New Orleans. She has always held my interest.

When I saw the Adams, it occurred to me that a combination of two of the kits would make the perfect two-room Creole cottage with only minor bashing.
The cottage in New Orleans’s French Quarter was built by Marie’s grandmother in the late 1700s. It is where Marie was born, reared 15 children, was widowed, and died. The parlor and Marie’s bedroom make up the cottage; kitchen, additional bedrooms, etc., are in separate buildings at the back of the lot. The date is about 1860; the Civil War has not yet begun.


Marie (also known as the Widow Paris) and her daughter, Marie Philoméne Glapion, are at home awaiting a visit from the beautiful Sophia, a free woman of color, who is coming to consult Marie on a matter of the heart. Marie is holding two symbols of her beliefs -- a rosary and a red gris-gris bag filled with herbs and charms.

All three dolls were made and dressed by Gina Gagnon of Lone Wolf Miniature Creations <http://www.lonewolfminiaturecreations.com/>, but I changed out Marie’s original shawl and tignon (head wrap) with fabric that better suited the scene.

Bringing Marie Laveau’s house to life has given me great pleasure. As I researched the details, I came to appreciate her complicated life and the times in which she lived. Although her history in print and on the internet is filled with inaccuracies and myth, an incredibly well researched and recently published book provided solid guidance. A New Orleans Voudou Priestess: The Legend and Reality of Marie Laveau by Carolyn Morrow Long (University Press of Florida, 2006).

Friday, February 13, 2009

Creole Cottage 3: Mini craftsmen at work

The Creole community in New Orleans sported any number of highly skilled craftsmen. I think they'd roll their eyes if they saw how their skills are reproduced in miniature!

Here is a look at how the bousillage was done. In a real house, all of the spaces between the beams would have been filled with soft blobs of mud and Spanish moss and left to dry before an outer coat of plaster was applied. In mini, however, all we need is a glimpse, a place where the plaster has fallen away. All of the space between the beams was filled with wallboard mud (aka joint compound).

In the third photo, you can see the results of the painting and aging process. You can also see the oyster shells beneath the house. Crushed eggshells make a suitable stand-in. Oyster shells are a cheap commodity in New Orleans and were used around and under houses to reduce mud and dust.


The last photo today shows the "brick" pillars that the house stands are. Most houses in New Orleans are raised, both for the cooling effect of air passing beneath the floors in the summer and as a guard against flooding. These pillars are made of 1" square wood dowels painted to look like bricks.

The ceiling in the parlor shows the wood ceiling beams and the wood planking of the attic floor. It is painted Paris green, very typical of the time. The bedroom ceiling has been painted with white gesso. It will have beams added later.

Thursday, February 12, 2009

Creole Cottage 2: The Pocket Door

Creole Cottages often had pocket doors that slipped into the wall instead of swinging out into a room. They are great space savers in small rooms. With the two Adams kits mounted side by side, there was a perfect place for a pocket door between the parlor and bedroom.

There are probably a lot of very elegant and craftsmanlike ways to install a pocket door, but I opted for the quick and simple. This door and some printed hardware were the basic components. The door had to have some extensions added on the top and the side that slid into the wall to keep it from falling out of the opening. I stained the parts of the extensions that might show.


Below are the two walls with doorway openings cut. Notice the die cuts for the window. No need for a window between the two rooms, so those stayed intact. Sometimes, if a die cut piece needs to stay but seems a bit loose, I'll glue a piece of paper over it to hold it in place. The next photo shows the bits of 1/4" foamcore board I used to keep the two walls straight and separated as well as stops that keep the door from disappearing entirely into the wall.


The final construction photo shows the door and trim in place. The "hardware" hasn't been added yet. It slides very smoothly.

Tuesday, February 10, 2009

Creole Cottage 1: It started out to be a simple cabin . . .

Hobby Builders Supply runs an annual Creatin' Contest. My entries for 2006 and 2007 were fairly complex, so I was glad to see the contest kit was Greenleaf Dollhouses Adams, a simple, one-room cottage. Aha, I thought ... this won't take any time at all! These were, of course, some of those famous last words.

Here is the kit unadorned:


I was waiting for an inspiration for a nice little one-room project, but imagination is a fickle thing. A little voice in my head suggested that it looked like part of a Creole cottage -- a single door, single window. And, the voice added, if I were to get another kit, I could put them together in mirror image and get a passable home out of it for Marie Laveau, the Voodoo Priestess of New Orleans. (More about her in another post.)

That led to a lot of research on the construction of the cottages, and I learned about bousillage, a method of stuffing soft "bricks" made of mud and Spanish moss between supporting wooden beams. And so the bashing began.


The beams for the bousillage have been installed on the side wall. I don't think you can see it in the photo, but there is a little space between the two houses, which gave me another inspiration. Why is it that each burst of inspiration leads to more complications? Beats me, but that seems to be the way it works over here, anyway!

Anyway, that space and what went in it will be the topic of the next post.

African Shadow Box

Well, since this is my first project entry, I thought I'd start with something small, like a shadow box. I made this one for my husband. The drum, vase, stool, mask, and flowerpot were purchased. Everything else was crafted by me.


At my first big miniature show, the Tom Bishop Show in Chicago in 2007, I found a wonderful handcrafted vase and a stool made by a talented South African Artisan. I snapped them up without a project in mind, just because they were so lovely.

Eventually, a plan came together. An issue of Architectural Digest had an article on a thatch-roofed African resort with gorgeous photos, and Michael's had a shadow box. With those to hand, the project came together.

The woven covering is quilting fabric. The scene out the window is from the magazine. The floor tiles are made from balsa, with half stained to create a checkerboard effect. The box is not as deep as it appears from a distance; I used single point perspective to run the floor up the wall for three rows to add depth. The thatch is raffia.

The drum and ceremonial mask started out as key chain decorations from World Market.


The ancestor figure and the hide draped over the windowsill are both printed and glued to cardstock. The fur is from a coat that I spotted in a catalog. Some careful work with the scissors and a little curling. I think it looks very realistic. The ancestor figure I found on the internet. I glued a piece of wire to the back and stuck it into a piece of balsa wood that was painted and aged.

Can't you just hear the rhythmic music in the background? :)

Sorry for the blurry photos. I was still in learning mode with my digital camera and was not a very quick study!