Monday, April 17, 2023

Sugarplum Cottage to Monarch Cottage 16


The finishing touches are getting ticked off of the to-do list. Waiting for the glue to dry is taking up most of the time.

The interior window frames, which were not included in the kit, were cut from cereal box cardboard. The printed side of the cardboard was covered with the wood-grained Contact paper, the same technique as used on the timbers. The acetate windowpanes, which were included in the kit, were glued onto the back of the frames using dots of Aileen's Tacky Glue applied with the tip of a toothpick.

When the glue dried, the frames were glued to the interior of the window openings. I thought about trim for the door but did not feel like fiddling with the curves. This left gaps in the baseboards but ... 

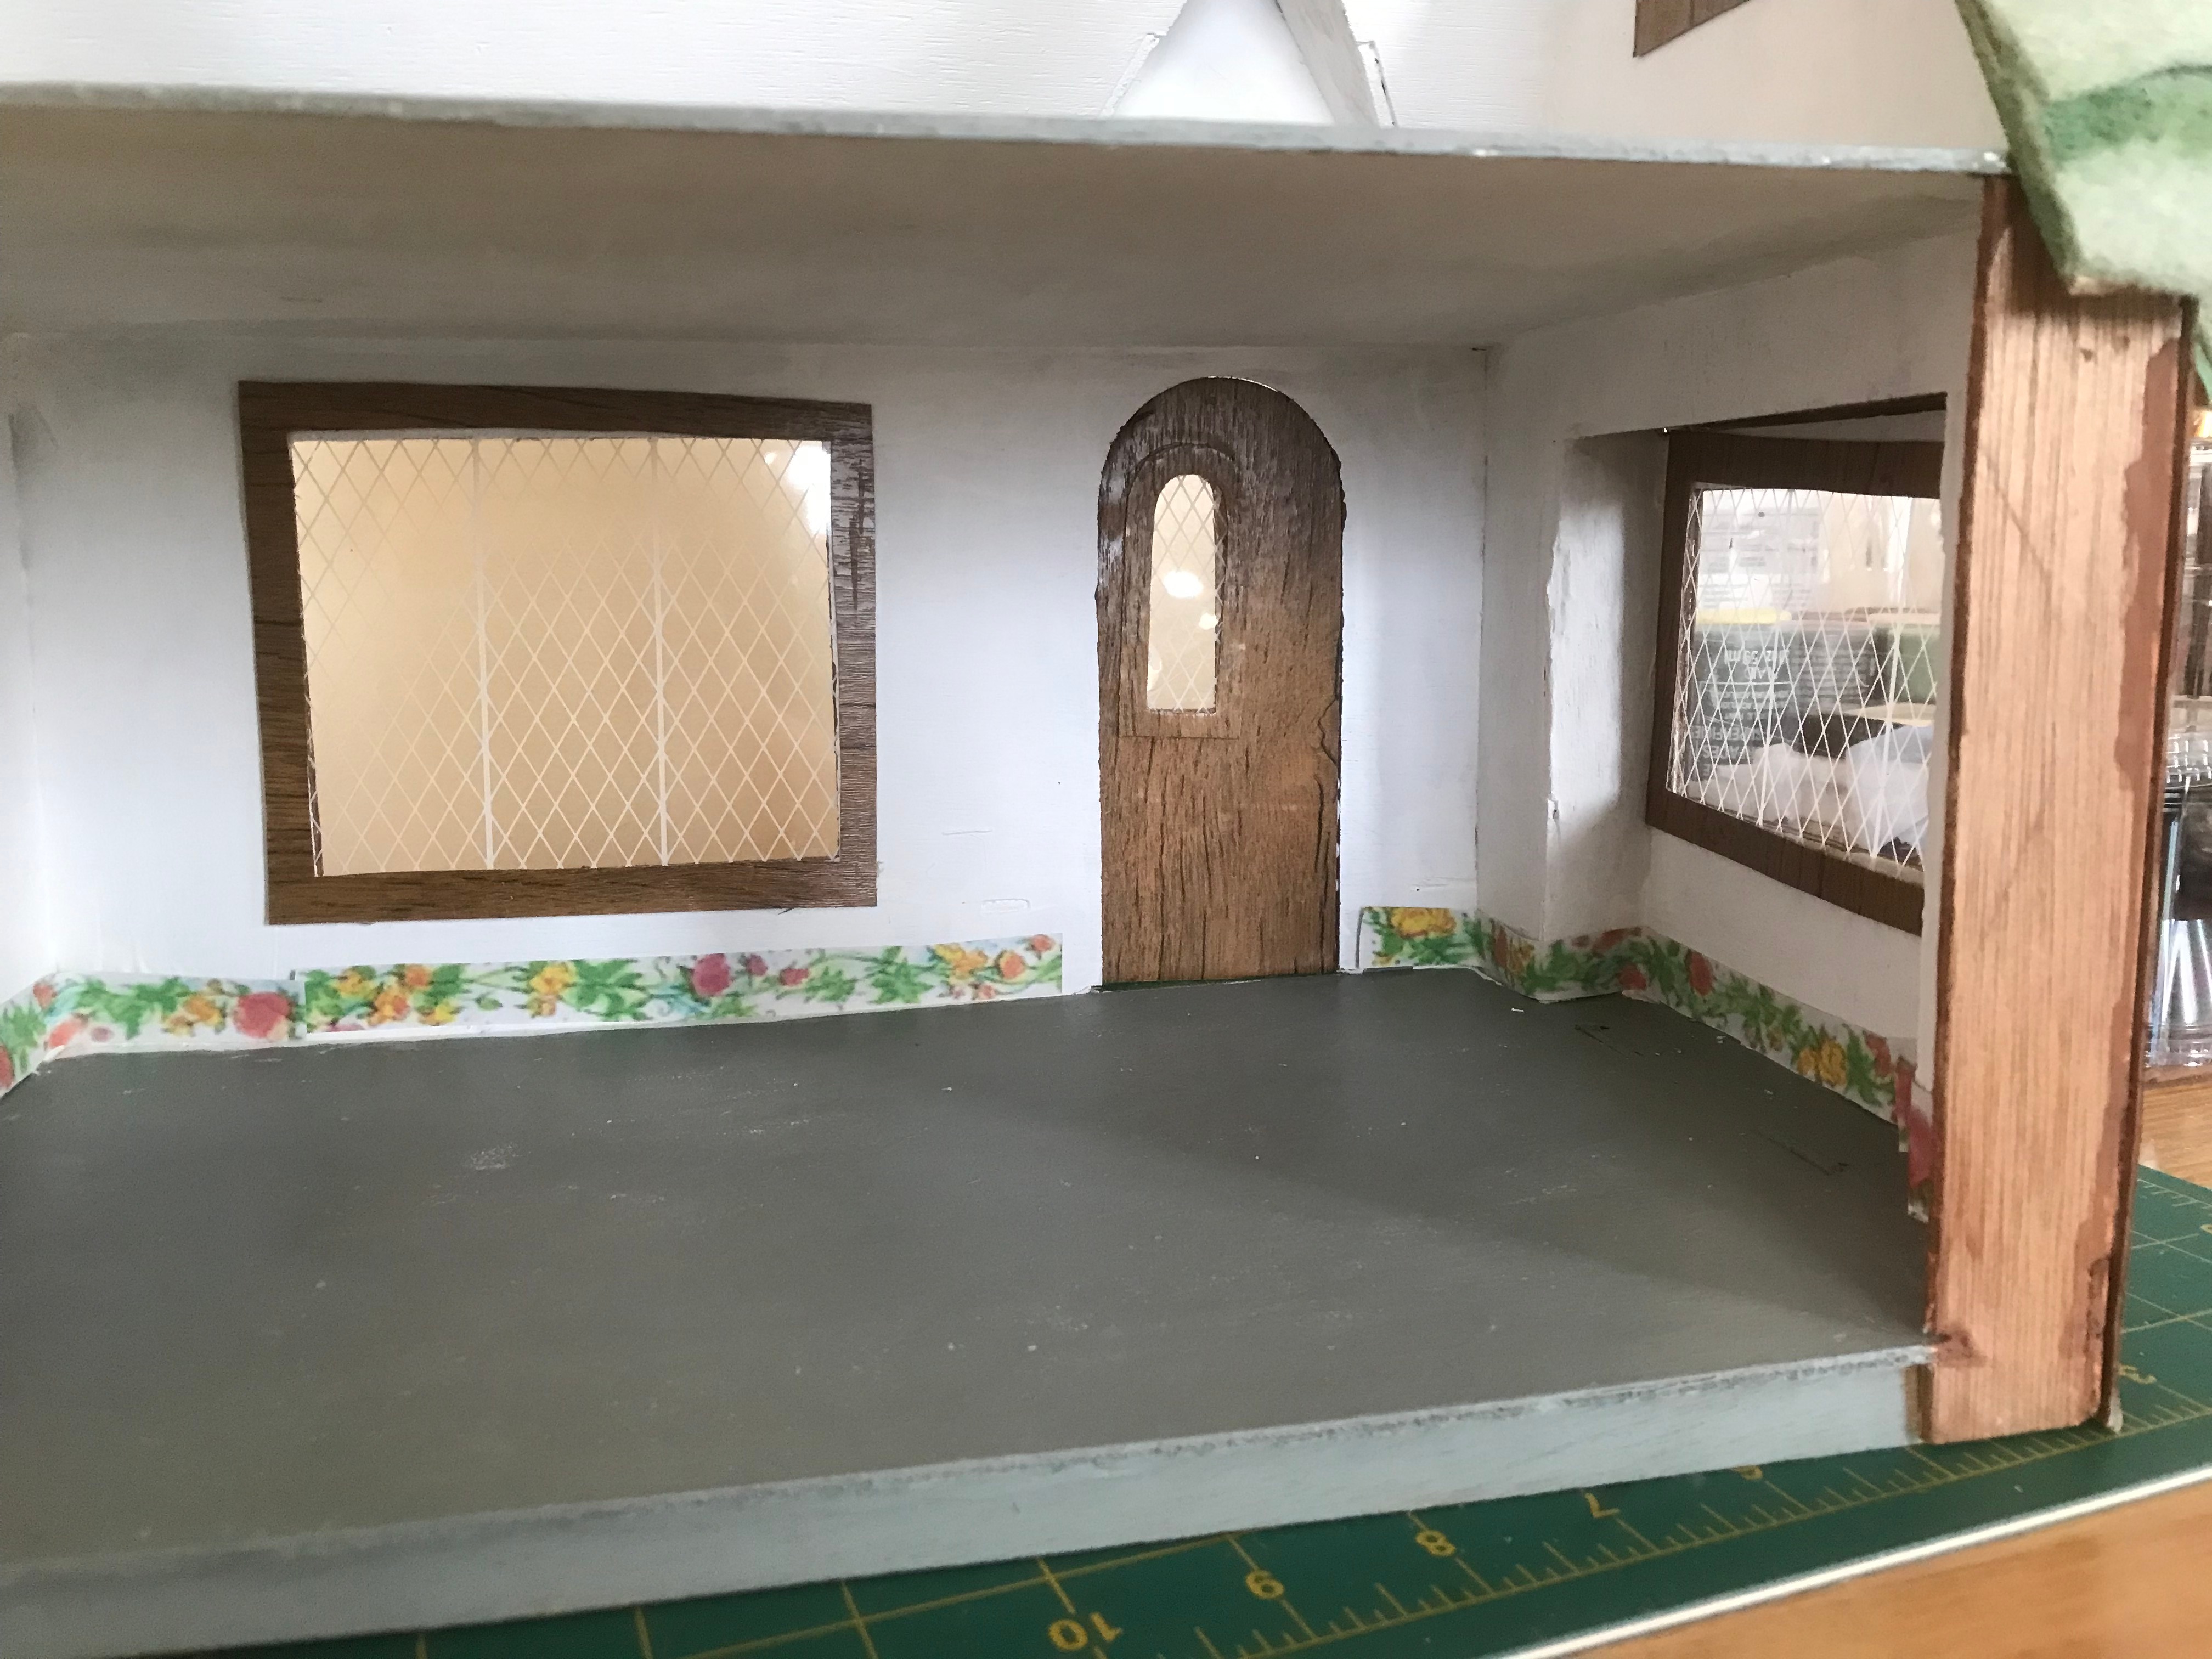
... the more I look at the flowery skirting boards, the less I like them. They are printed on removable sticky-backed paper, so they can be gone in seconds. Will I dig out the stash of wooden skirting boards or create some from the rest of the cereal box? Or think of Option 3? Hmmm.

There was some lycopodium in the tub of landscaping materials and some pink flower stems that I think came from the wedding shower décor section of Hobby Lobby many moons ago. They both could be reduced to usable bits with a few snips of the scissors.  


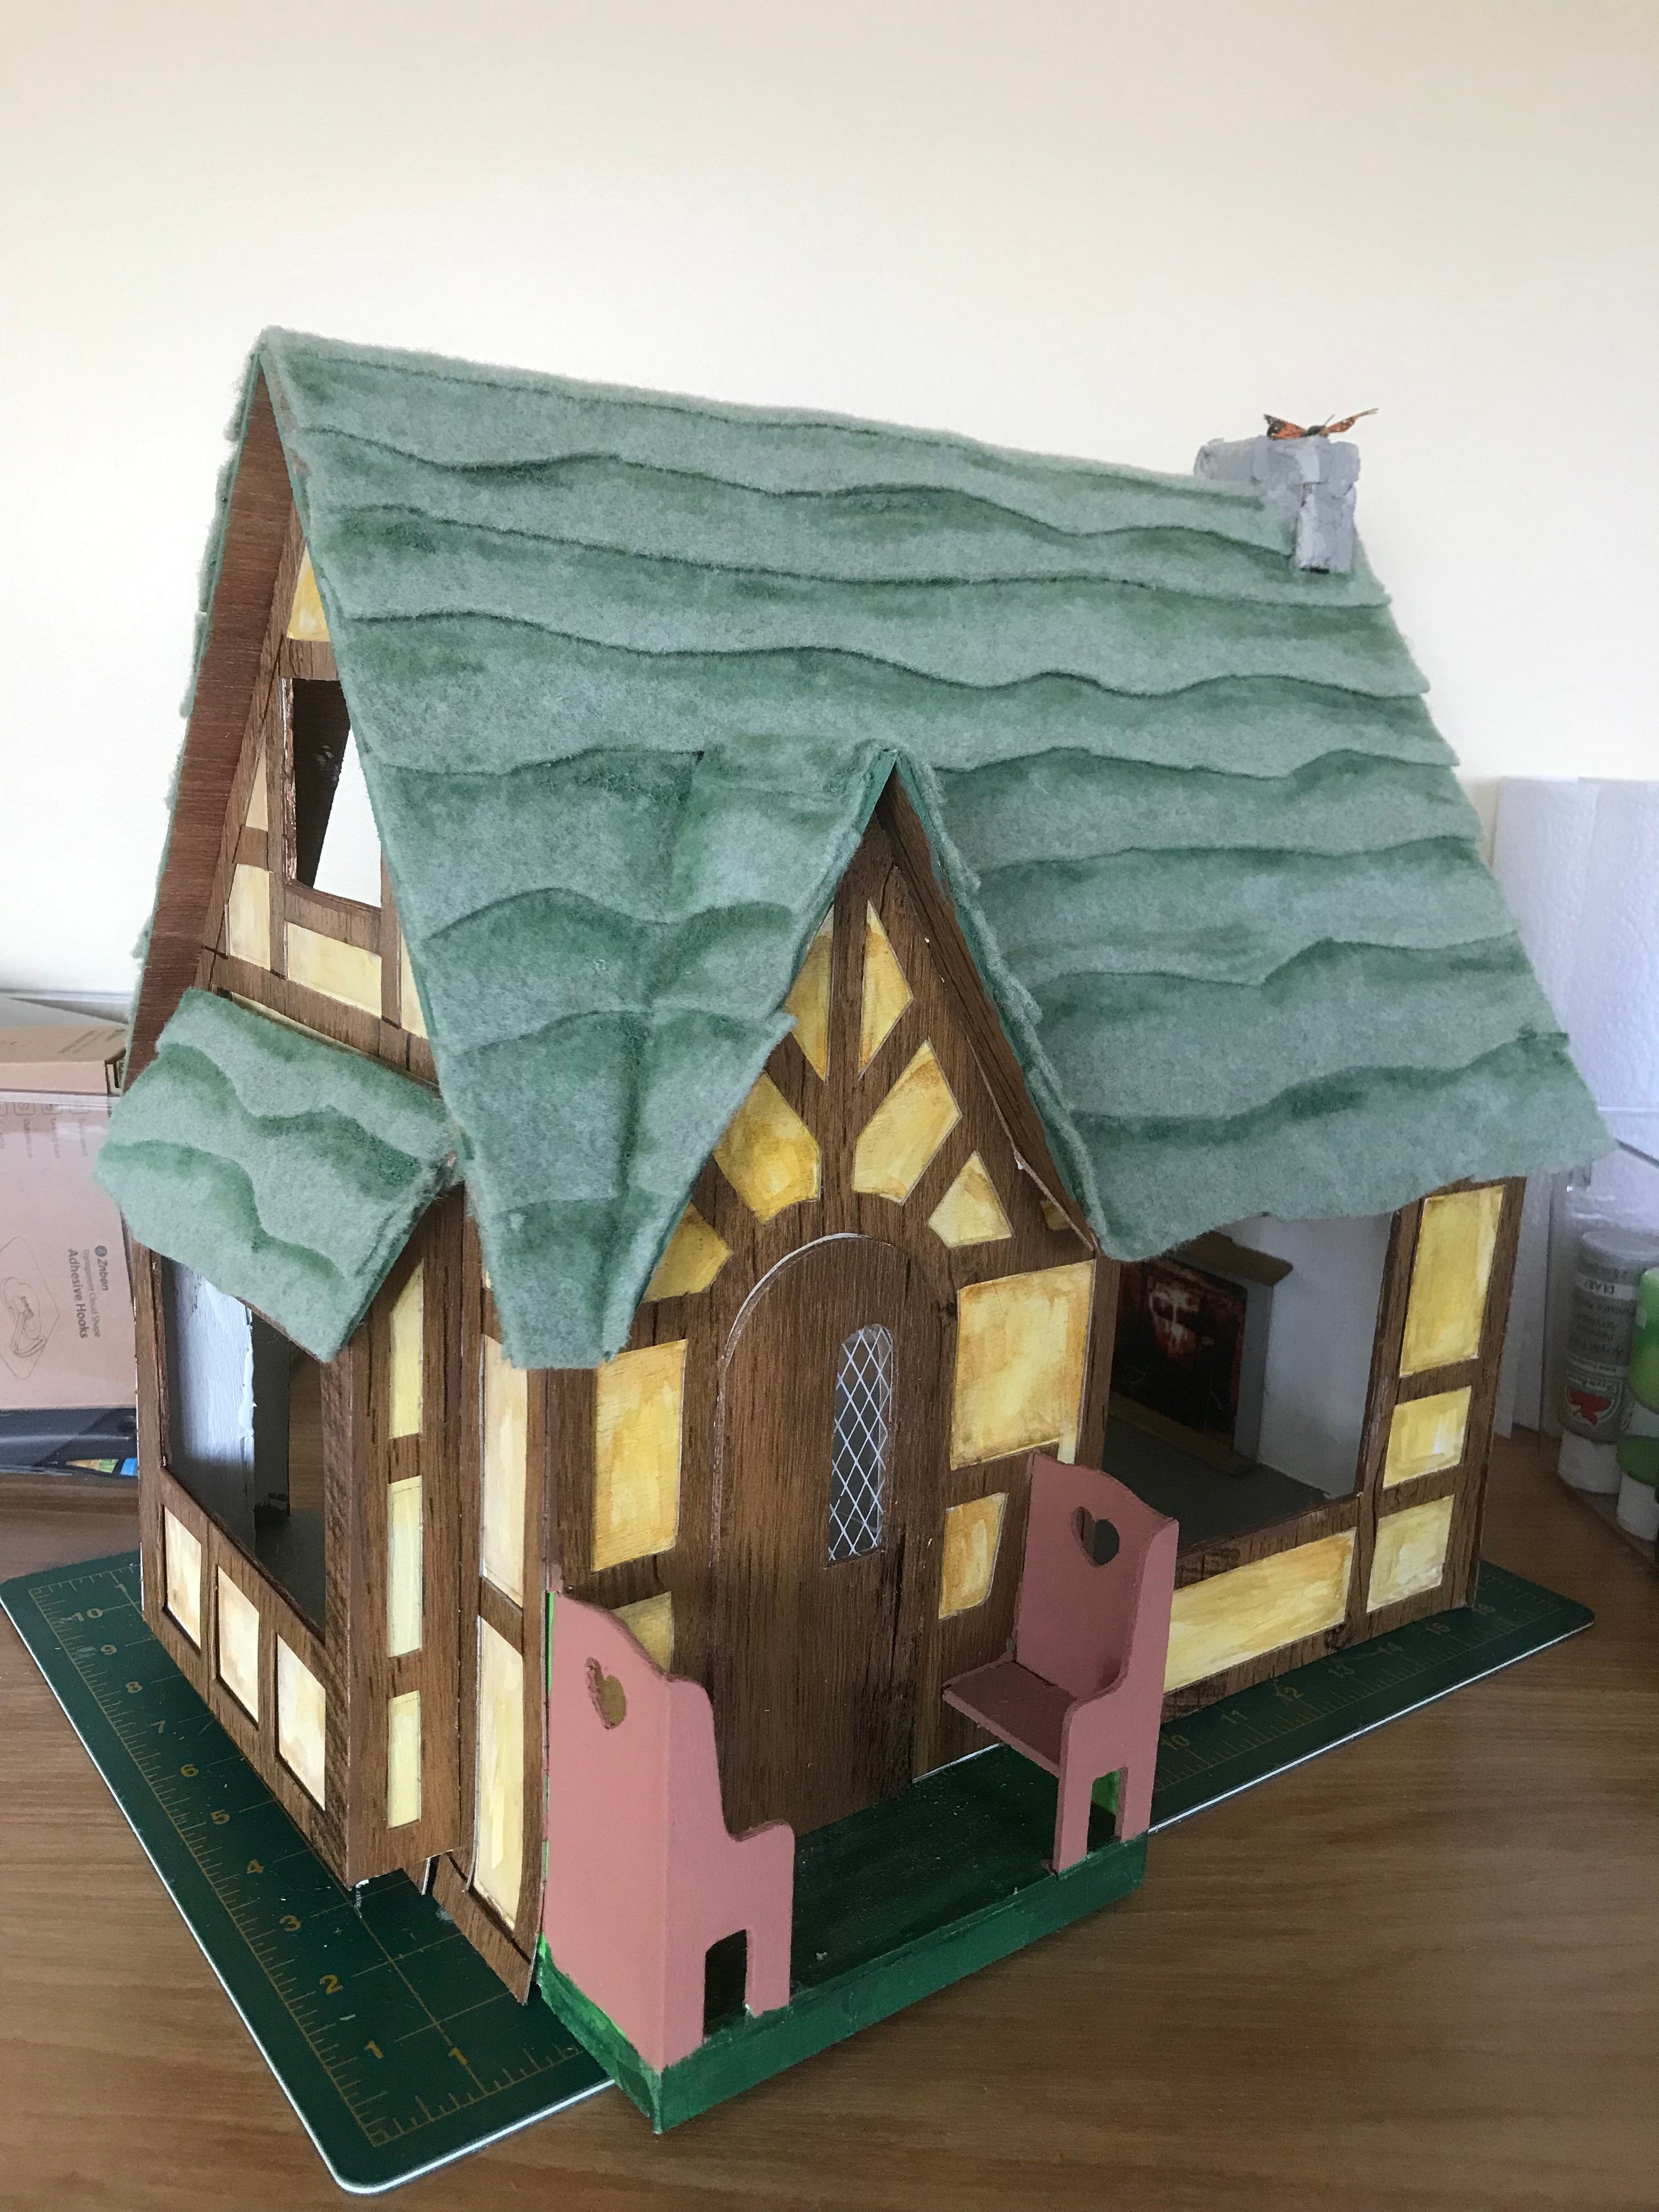
The dark spots on the roof are the lycopodium bits planted here and there in the sod. (Click on the photo to enlarge it.) When the glue is dry, the pink flower bits will be glued in place. The butterfly that was on the chimney has fluttered down to munch on the roof, which in this land of fantasy tastes remarkably like milkweed. The sounds of many butterfly wings can be heard in the distance.

While waiting for glue to dry, I printed the flower decals that will decorate some of the furniture. I neglected to take photos of the spray booth, but it functioned pretty well. I taped the sheet of printed decal paper to the bottom of a small packing box to keep it from moving during the spraying process. The box went on top of the stove, under the microwave's exhaust fan. A window was opened just a sliver, enough to create air movement.  The clear sealant was sprayed on in three light applications and allowed to dry between sprays. I left the apartment right after each spray to avoid any toxicity. This primitive setup worked quite well. There are no lingering odors of toxic spray in the apartment. 


Friday, April 14, 2023

Sugarplum Cottage to Monarch Cottage 15


The roof is evolving!


The gable roof turned out to be the same felt/sod of the main roof. Sometimes I overthink the challenges. Using a different type of roofing would, I think, have messed up the overall look. 

I carefully painted the edges of the roof to match the green of the sod. In a few places the paint got onto the felt. It was the same color, just a bit darker. That set me to thinking. A few minutes later, the roof had some shading.

What do I see on the chimney? Can it be the first of the Monarchs?

Thinking: I am not sure about the color of the benches. I am pondering what color to wash them with to age them.


The shaded sod looks good on the roof of the bay window. This angle shows the gable roof. Continuing the felt on those surfaces worked out well. 

There will likely be some tiny flowers popping up here and there on the roof, interspersed between the butterflies yet to come. I need to check the Landscaping tub for possibilities.


Thursday, April 13, 2023

Sugarplum Cottage to Monarch Cottage 14


Life got in the way of building this week, but some progress has been made.

The furniture has all been painted ivory. It is a nice, soft color, perfect for the cottage. I considered painting some embellishments, like flowers or stripes, but then I found some watercolor flowers in a free clipart site. 

The photo shows them printed them out on plain white paper and taped in place as a test; they passed. I have some decal paper to print them on, so the background will be clear. It will appear that the decoration is painted on. The process requires spraying with a clear sealer, which had to be ordered, so this is as far as this step has gone.


The sod roof is now glued, except for the gable over the front door. I'm afraid that the felt will look too bulky in this small area. I painted some of the shingles green and stuck them on to see if the gable can be shingled. I'm not in love with the effect.

(Click on the picture to enlarge it for details)
The layered look worked out fine on the small bay window roof.

The wooden edges of the roof should have been painted green before gluing the felt, but once again I got ahead of myself. 

It is hard to see in this photo, but the door now has wood-patterned Contact paper on both sides and the window is installed. It will be glued in place once the interior is finished. 


The felt roofing worked well on the open back. The boards that reach from the roof to ground on either side have been stained. They blend well with the Contact paper wood pattern.

The easiest way to stain small pieces is a stain-filled felt pen, available wherever stain is sold. When it runs out, the felt tip can be extracted and the pen refilled.