Two orders arrived from miniatures.com (HBS), so work on the staircase is progressing. I very cleverly sliced a wee bit from the top of the staircase to allow for parquet flooring. The good doctor is pleased to see progress. He likes the sample of stained parquet. The foyer will be elegant when finished. I don't think he has noticed a couple of engineering issues that need to be resolved.
 |
| The staircase slides in and out rather nicely now, and the plan to handle the baluster issue is pretty much resolved. BUT ... in looking at the photo, another issue appears: how to slide it past the trim that will be on the doorway to the left. It will be impossible to twist it enough to clear the trim. Removal of a slice from the section at upper right would move it far enough to the right to slide past the doorway, but when it is in place there would be a gap between the lower part of the staircase and the left wall. Something to ponder ... a strategically place bit of greenery? |
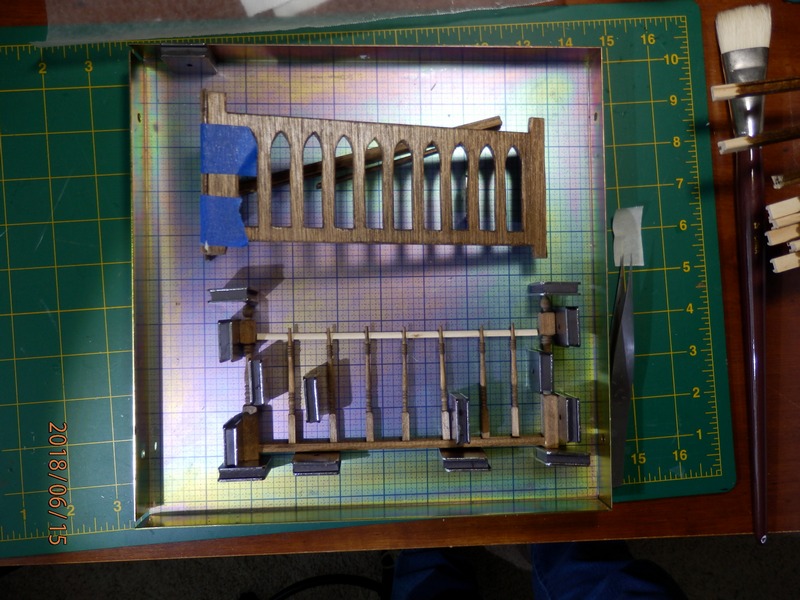 |
| Meanwhile, the railing that surrounds the upper story staircase hole is in the magnetic gluing jig. The piece at top is the kit solution. The balusters in the lower piece and the railing they stand on are glued. The light piece of quarter-round is raising the tip of the balusters so as to keep them horizontal. When the glue sets, the handrail will be glued in place. The balusters may be a tad bit far apart, but what did the Victorians know about OSHA? I think it will be aesthetically pleasing. |


