Showing posts with label decals. Show all posts

Saturday, April 22, 2023

Sugarplum Cottage to Monarch Cottage 18


Decalcomania! 

The flower sprigs were printed on a special decal paper and coated with three or four light applications of a clear spray sealant. A pair of scissors, a bowl of water, and we are ready to go.

The flower sprigs are cut out close to the printed area and dropped into the water. After roughly 60-90 seconds, the clear decal lifts away from the backing paper. The tweezers partly seen on the right are useful for working with such small pieces. 

The designs were such that they could be separated into a larger and smaller segment. The larger bit worked well on the back of the chair and the smaller bit worked well on the wing.

All the decals are in place. When dry, they will be stuck tight. Decals work best on a smooth surface. This paint has a matte finish, so the adherence was not perfect. Once dried, a teeny bit of Aileen's Tacky Glue on the end of a toothpick took care of a couple of edges that began to pull away.


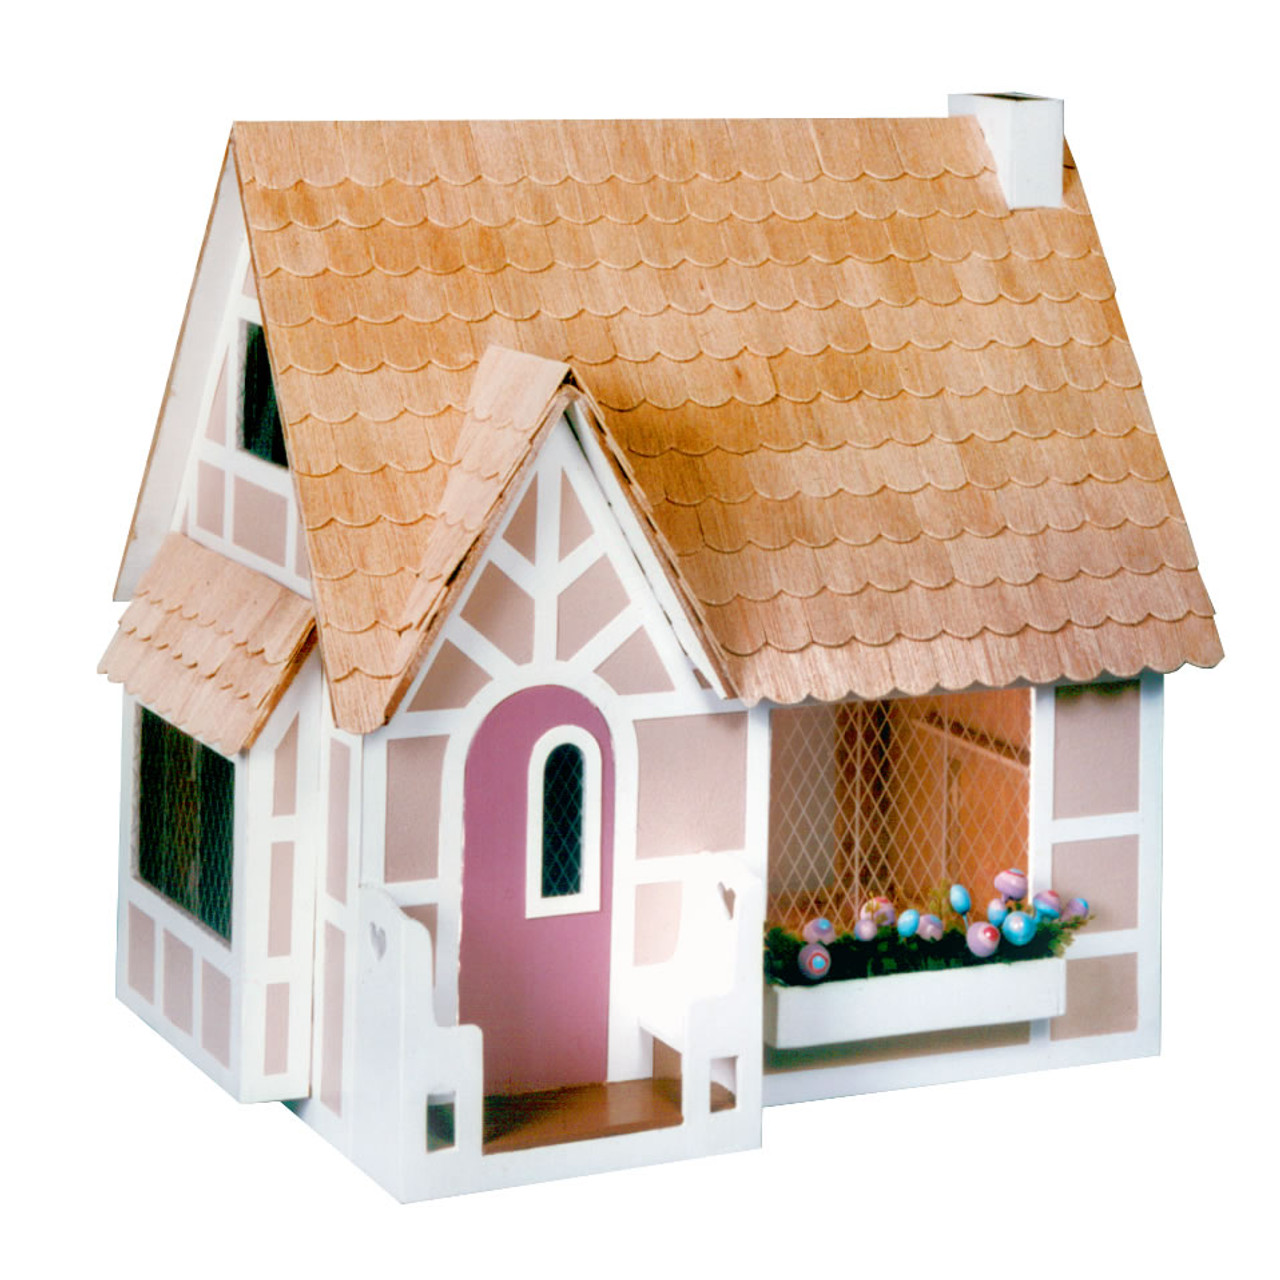
This is the suggested finish for this kit. It is the photo from the kit box. It is a sweet little Sugarplum Cottage. 

This is how it transformed into the Monarch Cottage.

Butterflies everywhere! The sod roof tastes just like the milkweed that Monarchs love to eat.

 A handful of tiny pink flowers have sprouted in the luscious sod.

(Click on the photo to see a larger size.)


The interior is plain, as befitting a little cottage. The chairs could use some cushioning, and the bed needs a nice, fluffy comforter. It is ready to be finished when an inhabitant turns up. 

Meanwhile, we will let the Monarchs enjoy the cottage. They prefer the roof and rarely go inside. 


If you are interested in the process, how the cottage was constructed, click on the Older Post link below. There are 18 individual posts in this series.

Stay tuned for a very different project to come.


Thursday, April 13, 2023

Sugarplum Cottage to Monarch Cottage 14


Life got in the way of building this week, but some progress has been made.

The furniture has all been painted ivory. It is a nice, soft color, perfect for the cottage. I considered painting some embellishments, like flowers or stripes, but then I found some watercolor flowers in a free clipart site. 

The photo shows them printed them out on plain white paper and taped in place as a test; they passed. I have some decal paper to print them on, so the background will be clear. It will appear that the decoration is painted on. The process requires spraying with a clear sealer, which had to be ordered, so this is as far as this step has gone.


The sod roof is now glued, except for the gable over the front door. I'm afraid that the felt will look too bulky in this small area. I painted some of the shingles green and stuck them on to see if the gable can be shingled. I'm not in love with the effect.

(Click on the picture to enlarge it for details)
The layered look worked out fine on the small bay window roof.

The wooden edges of the roof should have been painted green before gluing the felt, but once again I got ahead of myself. 

It is hard to see in this photo, but the door now has wood-patterned Contact paper on both sides and the window is installed. It will be glued in place once the interior is finished. 


The felt roofing worked well on the open back. The boards that reach from the roof to ground on either side have been stained. They blend well with the Contact paper wood pattern.

The easiest way to stain small pieces is a stain-filled felt pen, available wherever stain is sold. When it runs out, the felt tip can be extracted and the pen refilled.