I recently moved from near Atlanta to a retirement community in the western suburbs of Chicago called Monarch Landing. Several of the dollhouses recorded in this blog were sold in an auction, but a few came with me. The quilt shop and pottery shop have pride of place in the new apartment. The Beacon Hill and Pierce (Bohemian Inn), both under construction, are in a storage cage down the hall. Tools and craft supplies are in boxes and tubs in a large closet as well as a couple smaller Greenleaf kits, the Sugarplum Cottage and the Buttercup.
There is a dedicated worktable in the apartment, but rather than continue working on one of the larger houses while still sorting and organizing the tools and supplies, I've decided to put together the Sugarplum Cottage. It tells me it would like to become a Monarch Butterfly Cottage in honor of our new home, and so it shall!
I found some lovely paper Monarch butterflies online. They are 1-1/2" wide, a nice visual size for this scale. What does that mean? Scale is important in miniatures. The cottage is one-inch scale. That means that one inch in the cottage is the same as 12 inches (one foot) in a real house. For example, an 8-foot ceiling in a real house would become an 8-inch ceiling in the cottage.
Yes, I realize the butterflies at 1-1/2" wide would be 18" wide in real life, but keep in mind that the cottage is a fantasy build. Once the roof is covered in butterflies, imagination will override the need for accuracy. It will look just fine.
I also searched out a picture of a Monarch caterpillar, in case I decide to add some to the build.
[My imagination -- or was it the kit talking to me? -- just suggested that while there may be a cluster of butterflies on the roof, inside the house there may be a nursery for caterpillars and pupae.]
The kit includes shingles and some furniture. All of the pieces are die-stamped into 1/8" plywood. I did not take pictures of the organizing process, but I numbered the sheets of plywood (6 of them), filed them back into the box in order, and began to punch out the sections called for in the instructions. There are also some sheets of white cardboard trim, also die-stamped, an acetate sheet with diamond-patterned windowpanes, and a piece of sandpaper. The kit includes a set of schematics to help locate individual pieces.

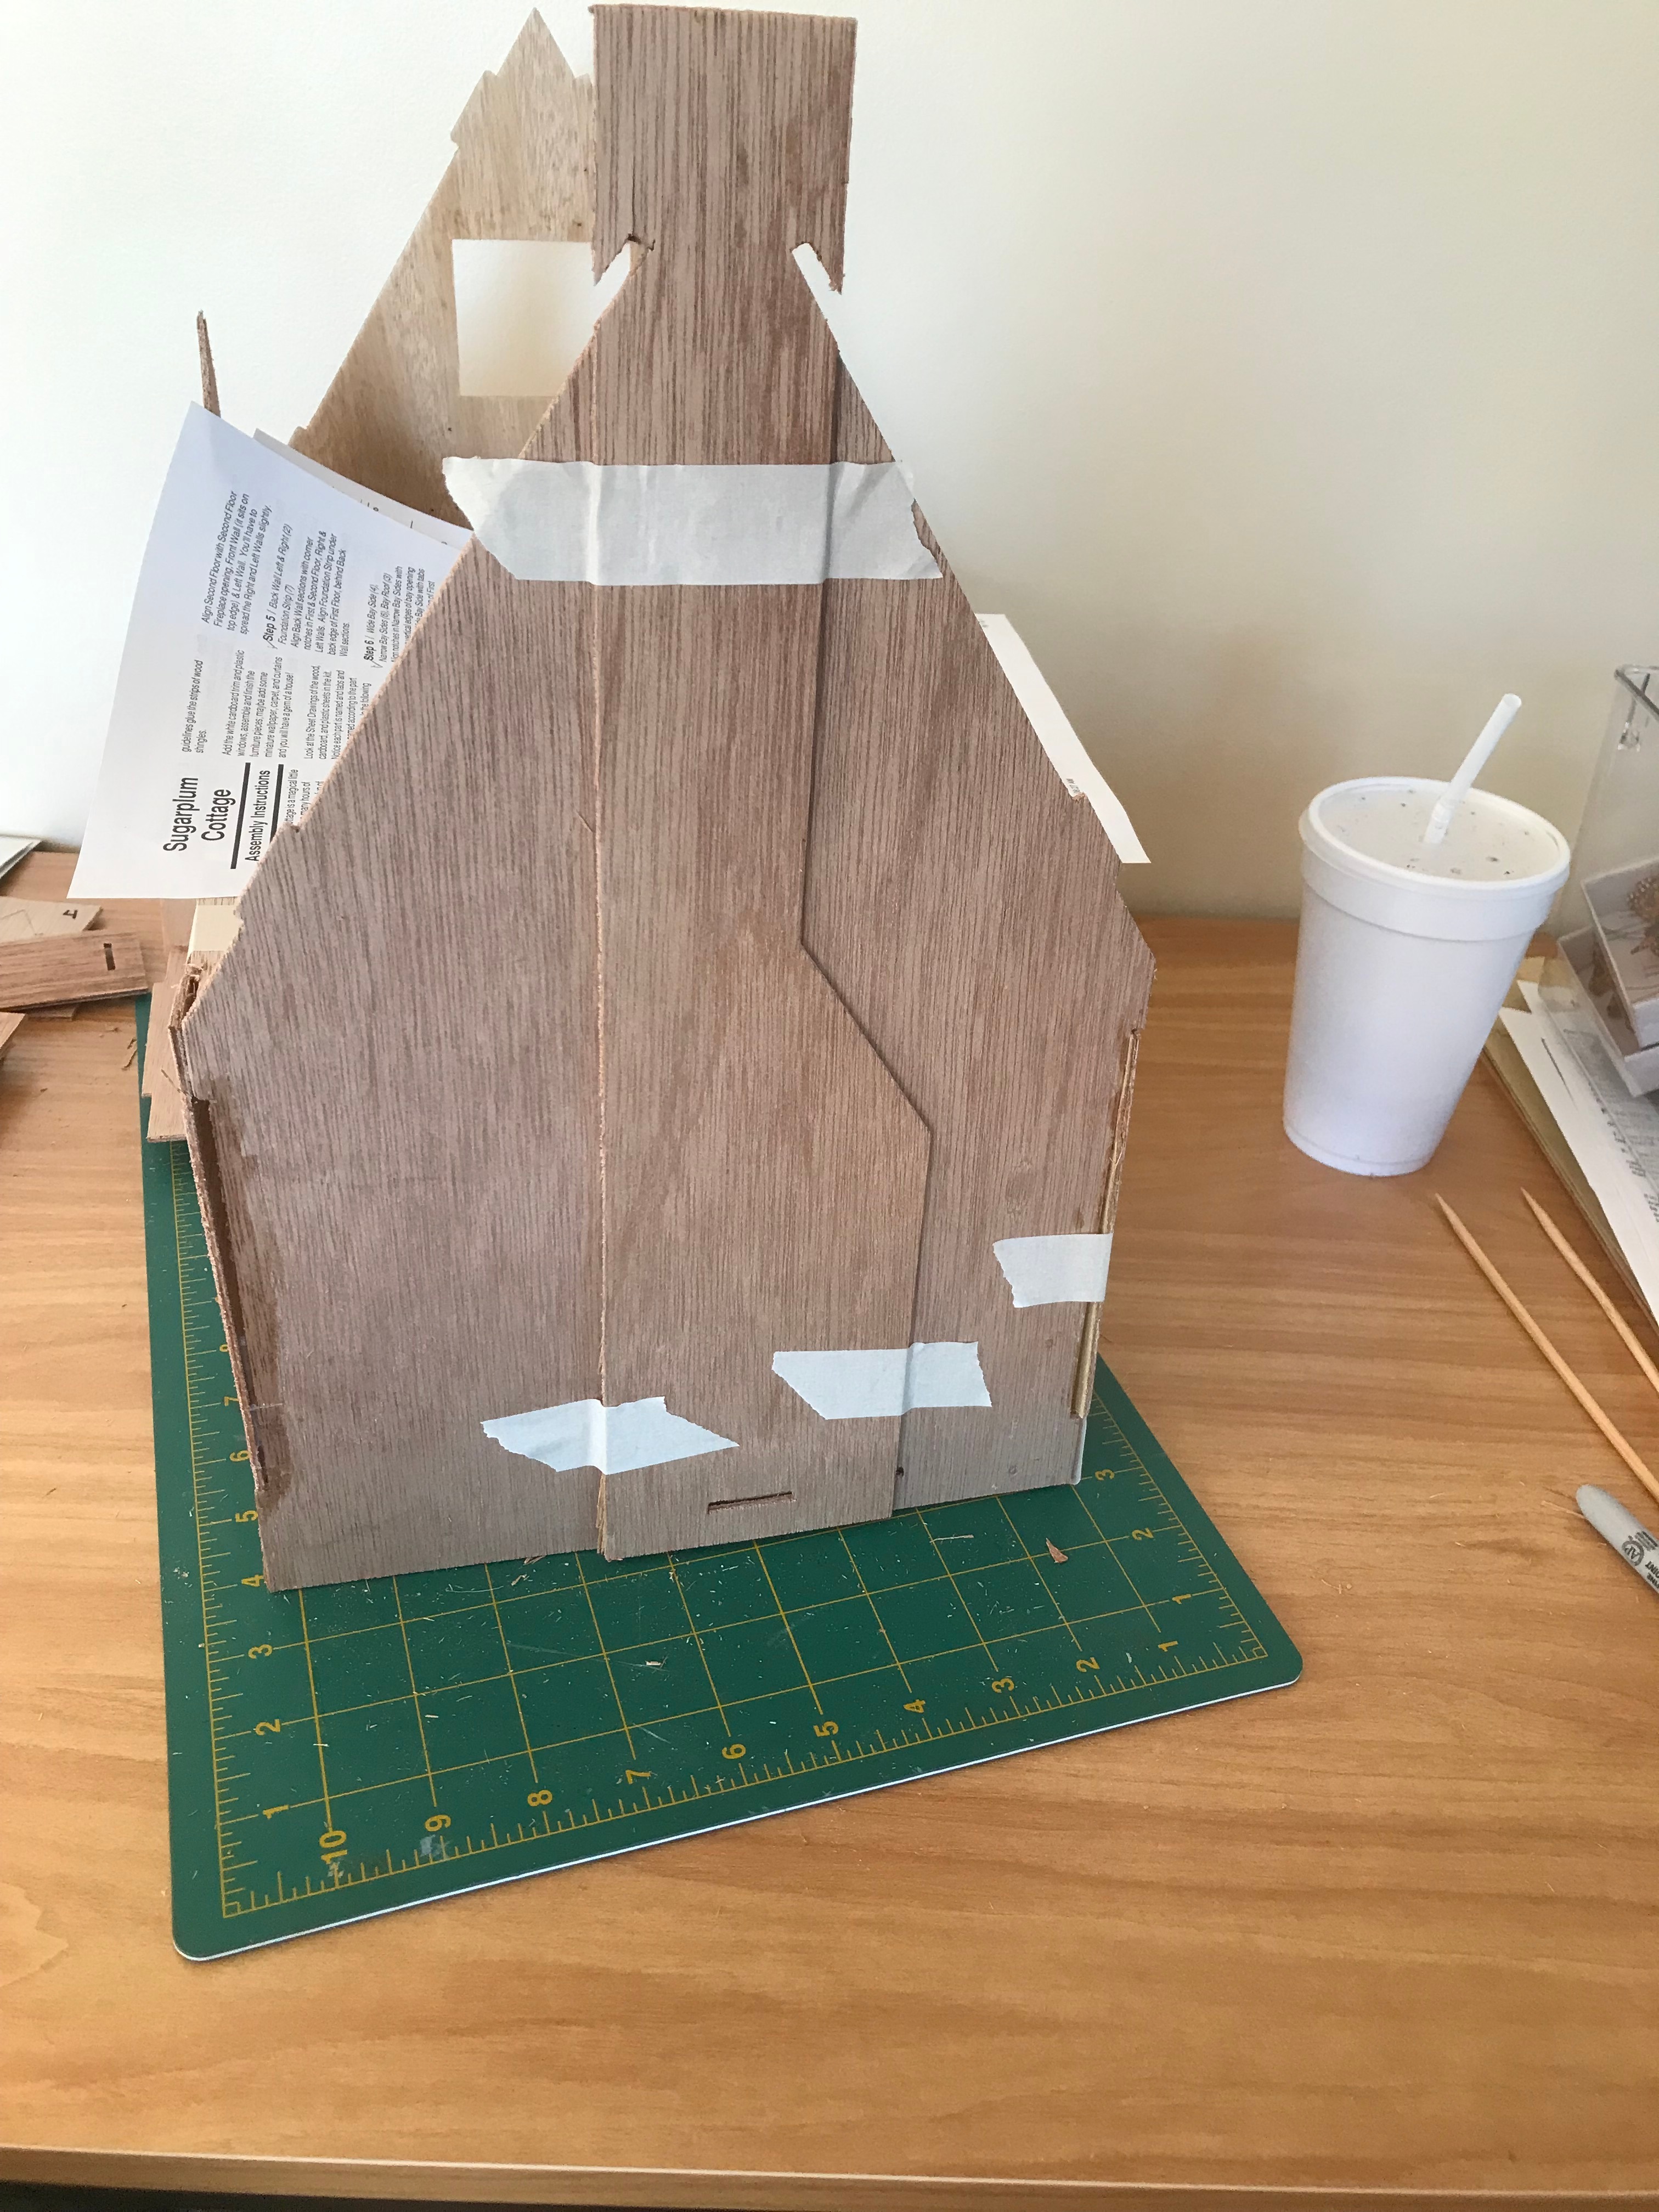
The first three instructions called for punching out the floor, front, and two sides of the cottage, The pieces are designed with tabs and slots to aid in assembling. Sometimes the tabs need to be shaved a bit to fit snugly, or the slots need to be enlarged. This is easy enough to do with the sandpaper or a utility knife with a new, sharp blade. At this point the walls are held in place with blue painter's tape. This is called "dry fit". Nothing is glued. Experience has taught that if any of the pieces do not fit perfectly at the beginning, there will be trouble fitting the pieces to be added later.
What will the finished cottage look like? I have only a vague idea. I find that as I work with a kit, it will begin to talk to me, as it did regarding the "nursery" mentioned above. A friend of mine tells of a build that she wanted to make into Miss Marple's cottage; the kit fought her until she finally gave in to its demands and turned it into a delightful English pub!
Come along for the ride. See where a kaleidoscope of butterflies takes us! (Yes, that's real. A group of butterflies is also known as a flutter, flight, or wing.)
Check back in a day or so to see how this build progresses.
If you would like to see some other houses, click on the list of links to the left of this page.